Postmark
Overview
Postmark is a cloud-based email-delivery client.
Bottle Rocket can integrate with Postmark automatically send scans / files as email attachments to a recipient's email address.
Prerequisites
- In order to connect Bottle Rocket to Postmark, you will first need to have a Postmark account.
- Postmark comes with a free pricing tier at 100 emails / month.
Create and configure the mail server
- Once logged in to your Postmark account, select Servers from the top left menu.
- Click Create Server.

- Name the server and set the Server type to Live.
- Click Create server to create the server.
- In the list of servers, select the newly created server.
- Select API Tokens from the top menu.
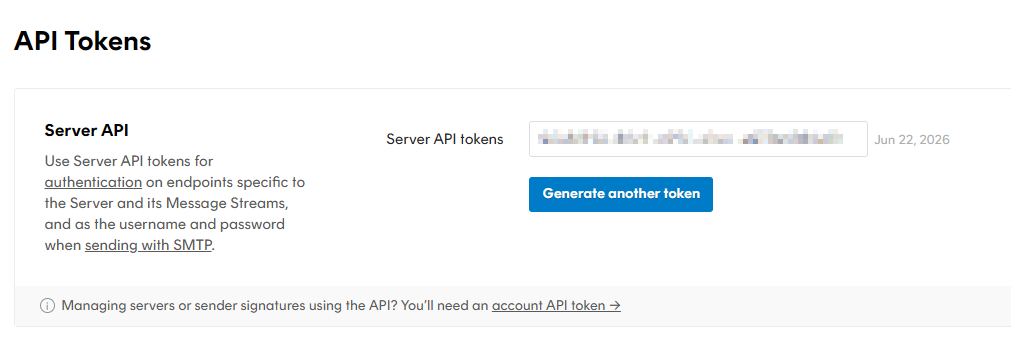
- Click to copy the server token value. You will use this token to finalize the connector.
Add a verified sender / sender signature
- Before you can start sending emails from your (designated) email address, you will need to verify that you indeed own / can access that sender's email address / domain.
- In the top menu, select Sender Signatures.

- Select Add Domain or Signature.
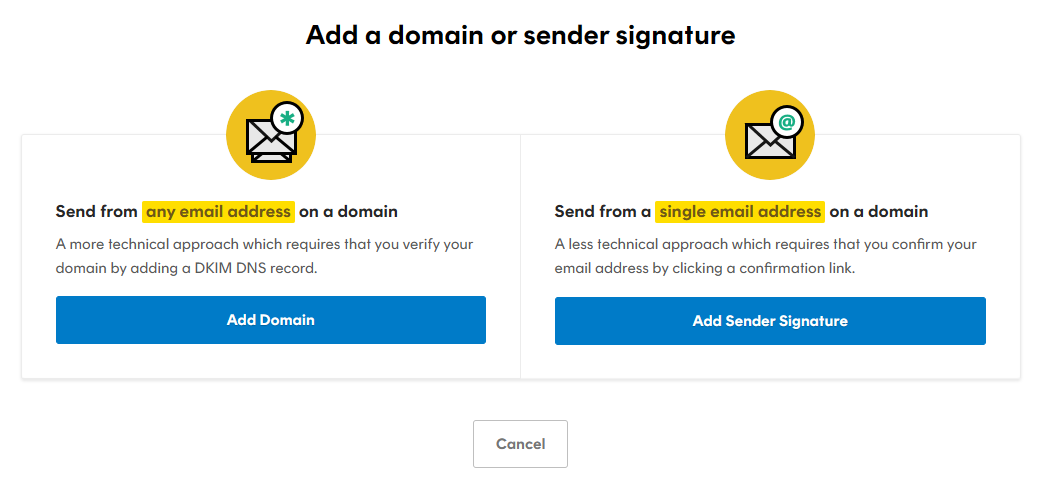
- Select the applicable option to and complete the process to verify ownership of either the domain, or the individual sender's email address.
- Once verified, you should see a "sender email" address. Make note of this, as you will also need it to finalize the connector.

Add the Postmark connector
- Login to your Bottle Rocket server.
- On the left-hand sidebar, under My connectors, select Add connector.
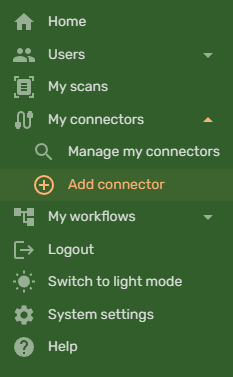
- Select the Postmark Integration Connector from the list of connectors, and click the Add connector button.
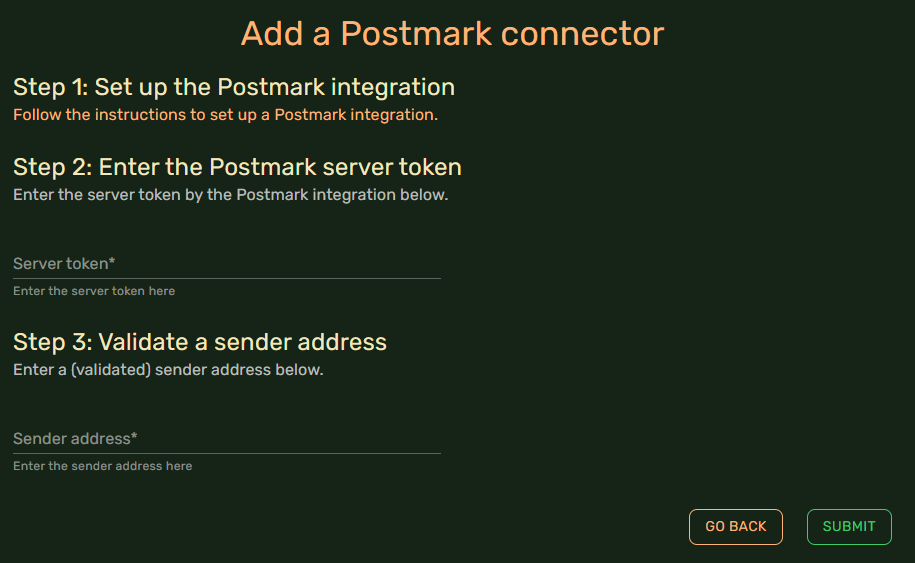
- Enter the Server token and Sender address you obtained in the previous steps.
- Click Submit. If everything has been configured correctly, you should be redirected to the connectors list, indicating that the Dropbox connector is active.

You now have a working Postmark connector that associated workflow steps can utilize.